01 Why Rooftop Cargo Safety Matters
A carrier that comes loose isn’t just cargo loss — it’s a projectile.
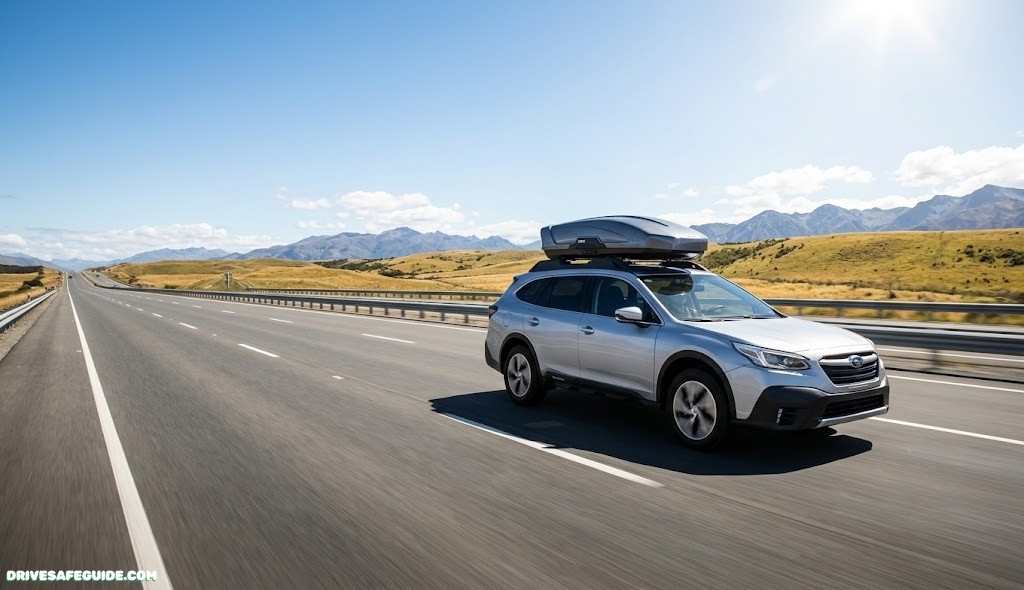
A rooftop cargo carrier changes the physics of your car in ways that are easy to underestimate. You’ve added height, weight sitting above your center of gravity, and a surface that catches wind like a sail. None of that is a problem when the system is chosen and installed correctly. All of it becomes a problem the moment one bolt is under-torqued, one strap is routed wrong, or one weight rating gets ignored.
The failures that make the news — a carrier peeling off at 70 mph, a kayak sliding backward off a rack, a soft bag ballooning open on the interstate — almost never come from a defective product. They come from a mismatch between the carrier, the rack, the vehicle, and the load. This guide walks through each of those variables so the mismatch never happens to you.
If you’re already building out a broader road-trip safety kit, it’s worth reading this alongside your road trip essentials checklist and the pre-departure vehicle safety checks — a cargo carrier is one more system that needs to pass inspection before you leave the driveway.
02 Understanding Weight Limits: Roof, Rack, and Carrier
Three numbers. The smallest one wins.
Before you buy anything, you need three figures: your vehicle’s dynamic roof load rating (found in the owner’s manual, sometimes on a door-jamb sticker), your roof rack or crossbar’s rated capacity, and the carrier’s own maximum load. Manufacturers often print big, exciting numbers on packaging — “holds up to 165 lbs!” — that only apply if your roof and rack can handle that much, which most passenger vehicles cannot.
| Component | Typical Rating | What Limits It |
|---|---|---|
| Vehicle roof (dynamic, while driving) | 100–165 lbs | Roof sheet metal, mounting points |
| Vehicle roof (static, parked) | Often 400+ lbs | Rarely the limiting factor |
| Aftermarket crossbars/rack | 75–165 lbs | Bar material and clamp design |
| Rooftop cargo carrier (empty) | 100–165 lbs | Shell or fabric rating |
Notice the carrier weight already includes the box or bag itself — a hard shell can weigh 30-40 lbs on its own, which eats into your usable capacity before you’ve packed a single bag. Always subtract the carrier’s own weight from its rated maximum to get your real cargo allowance.
How to find your vehicle’s actual number
Check the owner’s manual under “roof load” or “roof rack capacity,” not the general payload section. If you can’t find it, the door-jamb sticker sometimes lists it alongside tire pressure specs. When in doubt, call the dealership’s service department — this is a common enough question that they’ll have the figure on hand quickly.

Digital Luggage Scale
Weigh each bag before it goes on the roof so you never guess your way past the rated limit.
Check Price on Amazon03 Hard-Shell vs Soft-Sided Carriers: Full Comparison
The right answer depends on how often you use it and what you’re hauling.
Hard-shell carriers are molded ABS or fiberglass boxes that lock, keep their shape whether full or empty, and hold up well to weather and years of reuse. Soft-sided carriers are reinforced fabric bags that fold flat for storage, cost far less, and mount directly to bare roof rails on many vehicles without needing crossbars.
Hard-Shell — Strengths
- Fully weatherproof, aerodynamic shape
- Rigid structure resists shifting cargo
- Lockable — a deterrent against theft
- Lasts many seasons with basic care
Hard-Shell — Trade-offs
- Requires roof rack crossbars
- Heaviest option (30-45 lbs empty)
- Needs garage or storage space
- Higher upfront cost
Soft-Sided — Strengths
- Folds flat, easy to store
- Often straps directly to bare roof rails
- Lighter weight, lower cost
- Good for occasional trips
Soft-Sided — Trade-offs
- Vulnerable to sharp edges tearing fabric
- Weather resistance varies widely by brand
- Not lockable in most cases
- More prone to flutter/noise at speed
| Factor | Hard-Shell | Soft-Sided |
|---|---|---|
| Best for | Frequent road trippers, ski/snowboard gear | Occasional trips, soft luggage |
| Typical capacity | 13–21 cubic ft | 10–18 cubic ft |
| Mounting requirement | Crossbars/rack required | Often works on bare rails |
| Average lifespan | 7–10+ years | 3–5 years with regular use |
If your vehicle already handles gear-hauling duty for pets and camping trips, it’s worth cross-checking crash-restraint standards too — our breakdown of pet restraint crash test ratings covers a related weight-and-securement problem inside the cabin.

Hard-Shell Rooftop Cargo Box
A lockable, weatherproof option for anyone who road-trips more than a couple of times a year.
Check Price on Amazon04 Choosing the Right Roof Rack System
The carrier gets the attention, but the rack does the actual holding.
Roof rack systems generally fall into three categories: factory-installed crossbars, aftermarket crossbars that clamp to raised or flush roof rails, and fixed-point systems that bolt to factory mounting holes under trim caps. Each has its own load rating, and mixing brands between rack and carrier is where a lot of people run into trouble — a carrier rated for 165 lbs is meaningless on a rack rated for 100.
Matching rack to vehicle type
- Raised side rails: most aftermarket crossbar clamps fit directly, no drilling required.
- Flush rails or no rails: you’ll need a fixed-point or track-mounted system specific to your vehicle’s roof.
- Panoramic sunroof vehicles: double-check clearance — some hard-shell carriers sit close enough to interfere with sunroof operation.
Whatever system you choose, look for a torque-indicating clamp mechanism — many modern crossbars click audibly once they’re properly tightened, which removes the guesswork of “tight enough” versus “torqued to spec.”
05 Installation Walkthrough: Getting It Right the First Time
Fifteen careful minutes here prevents every failure mode down the road.
Start with a clean roof and clean crossbars — grit under a clamp foot is a surprisingly common cause of slow loosening over a long drive. Position the carrier so its weight sits centered between the front and rear crossbars, then hand-tighten every mounting point before doing a final torque pass in a criss-cross pattern, the same way you’d tighten lug nuts.
Step-by-step
- Wipe down crossbars and the carrier’s contact rails.
- Center the carrier front-to-back and side-to-side on the bars.
- Hand-tighten all mounting clamps or U-bolts evenly.
- Do a final tightening pass in a criss-cross order, checking for the manufacturer’s “click” or torque spec.
- Tug-test each corner of the carrier by hand — there should be zero lateral movement.
- Re-check torque after the first 15–20 minutes of driving; clamps can settle slightly on the first trip.
That last step matters more than people expect. Just as you’d re-check lug nut torque after a wheel change, a new cargo carrier installation should get one follow-up check once it’s had a chance to settle under real road vibration.

Compact Torque Wrench Set
Confirm your rack clamps and mounting bolts are seated to spec, not just “snug.”
Check Price on Amazon06 Loading and Weight Distribution Best Practices
How you pack matters almost as much as what you pack.
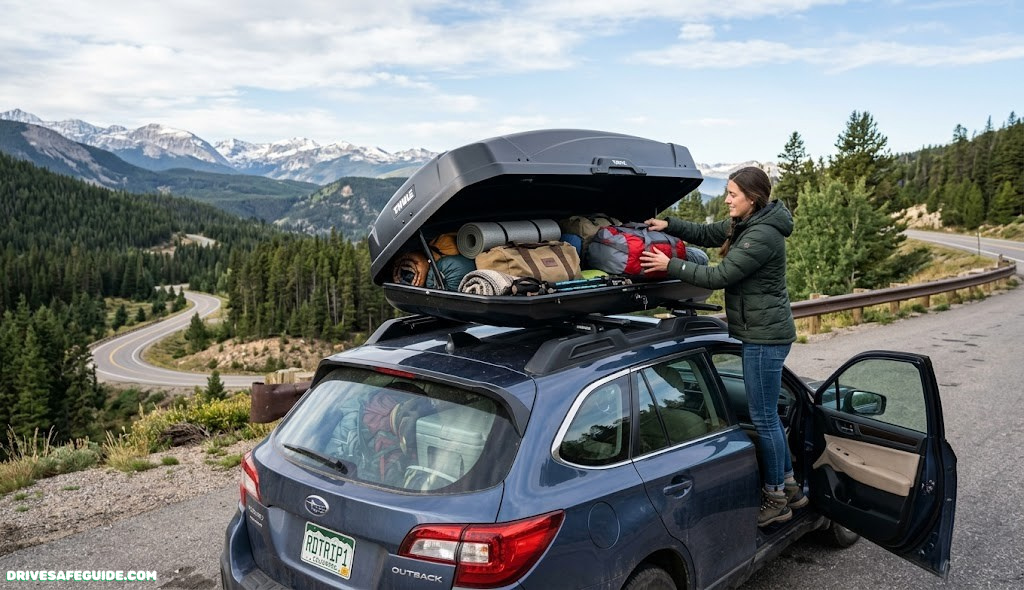
Heavier items belong low and centered, distributed evenly side to side and front to back. A carrier packed heavy on one end acts like a lever at highway speed, amplifying any crosswind sway. Soft, irregular items should fill gaps so nothing shifts once you’re moving — a loose object banging inside a hard shell for three hundred miles will eventually work a bracket loose.
- Pack dense items (tools, canned goods, coolers) low and centered.
- Distribute weight evenly — avoid loading one side heavier than the other.
- Leave zero air gaps for shifting; use soft bags to fill space.
- Never exceed the carrier’s stated volume even if weight is under the limit — an overstuffed shell won’t seal properly.
- Double-check the latch or zipper seals fully closed before departure.
This is also where a broader packing plan pays off. If you’re loading up for a longer trip, our cross-country driving checklist and scenario-based road trip essentials guide both walk through what goes in the cabin versus what’s safe to route to the roof.
07 Aerodynamics, Fuel Economy, and Noise
A rooftop carrier is the single biggest aerodynamic change most people make to their car.
Expect a measurable fuel economy hit — commonly cited real-world figures land somewhere between a 10% and 25% reduction in highway mpg with a loaded carrier mounted, depending on shape, size, and speed. Aerodynamic teardrop-profile hard shells cut into that penalty noticeably compared to boxy shapes or soft bags that billow at speed.
Reducing wind noise
Persistent humming or whistling at highway speed almost always traces back to one of three things: a gap between the carrier and the roof, a loose strap end flapping in the airflow, or a carrier shape that wasn’t designed with a wind deflector. Tucking loose strap tails, confirming a snug seal, and adding a small wind fairing at the front of the rack noticeably quiets the cabin.
08 Legal Requirements and Height/Width Restrictions
Rules vary by state and by structure you’re driving under.
Most states don’t set a hard limit specifically on rooftop carriers, but they do enforce overall vehicle height limits (commonly 13’6″ on major highways, lower in some states and on certain parking structures and low bridges) and general “secure load” statutes that make an improperly fastened carrier a citable offense on its own, independent of any accident.
- Measure your total vehicle height with the carrier mounted before entering low-clearance garages, drive-throughs, or car washes.
- Confirm your carrier doesn’t extend beyond your vehicle’s width — most stay within factory mirror width, but oversized aftermarket boxes can protrude.
- Secure-load laws apply to rooftop cargo the same way they apply to open truck beds — an unsecured load that falls or flies off can result in a citation even without a collision.
If you’re planning a route through national parks or scenic byways where clearance signage is common, our guides on national park vehicle passes and scenic byway route planning flag the specific clearance points worth knowing in advance.
09 Weather, Speed, and Highway Driving Considerations
The carrier changes how your car behaves before you even notice it.
Extra height and side-surface area make your vehicle noticeably more sensitive to crosswinds, and the added weight up top raises your center of gravity, which shows up most in quick lane changes and tight highway merges. Most carrier manufacturers recommend a maximum highway speed while loaded, commonly somewhere in the 75-85 mph range — treat that as a hard ceiling, not a suggestion, and dial it back further in gusty conditions.
| Condition | What Changes | Adjustment |
|---|---|---|
| Crosswinds / high wind gusts | Increased sway, steering correction needed | Reduce speed, increase grip on wheel |
| Passing trucks | Sudden turbulent buffeting | Anticipate, don’t overcorrect |
| Rain / wet roads | Higher center of gravity affects braking dynamics | Increase following distance |
| Sharp curves or ramps | More body roll than unloaded | Slow down earlier than usual |
Because braking dynamics shift slightly with the extra top weight, it’s worth revisiting your safe following distance rule for the trip — a little extra cushion compensates for the change in how the car settles under braking. If you’re traveling through gusty terrain, our guide on driving in high winds without losing control pairs directly with this section.
10 Maintenance and Pre-Trip Inspection Checklist
Two minutes before every trip, plus deeper checks each season.
Before every drive
- Tug-test all four corners of the carrier by hand.
- Confirm the lock or latch is fully engaged.
- Check that no straps are loose, twisted, or frayed.
- Walk around and visually confirm nothing protrudes past the vehicle’s width.
Seasonally
- Inspect rubber gaskets and seals for cracking or UV wear.
- Check crossbar clamps for corrosion at contact points.
- Re-torque all mounting hardware, especially after winter storage.
- Clean and dry a soft-sided carrier fully before folding it away, to prevent mildew.
Add this to the same rhythm as the rest of your vehicle prep — our pre-road-trip safety check guide and car safety kit checklist both work well as a single pre-departure routine alongside the carrier check above.

Heavy-Duty Ratchet Tie-Down Straps
Backup security for any carrier, and essential if you’re strapping gear directly to bare rails.
Check Price on Amazon11 Common Mistakes That Cause Cargo Carrier Failures
Almost every roadside carrier failure traces back to one of these.
- Skipping the settle-in re-torque: hardware that was tight at the driveway loosens slightly after the first stretch of vibration.
- Mixing incompatible rack and carrier brands: universal kits fit, but “fits” isn’t the same as “rated for this combination.”
- Overloading by volume, not just weight: a carrier stuffed past its shape can’t seal or latch correctly even under the weight limit.
- Ignoring a known low-clearance route: garages, drive-throughs, and car washes are the most common source of roof-height collisions.
- Reusing worn straps: UV-degraded webbing loses a large share of its rated strength before it visibly frays.
- Speeding past the manufacturer’s rated max speed: most failures at highway speed happen above the carrier’s stated limit.
12 Top Safety Accessories to Pair With Your Carrier
A few inexpensive additions close most of the gap between “installed” and “secure.”
- Backup safety straps — a second layer of security that runs independent of the primary mounting clamps.
- Cargo liner or protective pad — prevents scuffing where straps meet the roof, and helps if you’re loading directly onto bare rails.
- Anti-theft cable lock — useful for gear stored in a soft-sided carrier that doesn’t have a built-in lock.
- Rooftop-rated UV cover — extends the life of a fabric carrier left mounted between trips.
For anything you’re towing rather than roof-mounting, our trailer hitch class guide and cargo liner material comparison cover the equivalent decisions for hitch-based cargo. And if your trip includes a dog riding along, the securement principles overlap directly with our pet restraint crash test ratings breakdown.

Backup Safety Strap + Lock Kit
An affordable second layer of security for any rooftop cargo system.
Check Price on AmazonFAQ Frequently Asked Questions
What’s the actual weight limit for a rooftop cargo carrier?
It’s whichever is lowest among your vehicle’s dynamic roof rating, your rack’s rated capacity, and the carrier’s own rating — not the largest number printed on any single component’s packaging.
Do I need crossbars, or can I mount a carrier straight to my roof?
Hard-shell carriers require crossbars or a fixed-point rack system. Some soft-sided carriers are designed to strap directly to bare roof rails, but check the specific product’s mounting instructions first.
How much does a rooftop carrier hurt my gas mileage?
Real-world estimates commonly range from a 10% to 25% reduction in highway fuel economy, depending on the carrier’s shape, size, and your driving speed.
Is there a maximum safe speed with a loaded cargo carrier?
Most manufacturers specify a maximum speed, often in the 75-85 mph range. Treat it as a hard limit and reduce it further in windy or wet conditions.
How often should I re-check the mounting hardware?
Check it before every trip with a quick hand tug-test, and do a full re-torque after the first 15-20 minutes of driving on a new installation, since hardware commonly settles slightly under initial vibration.
Are rooftop cargo carriers legal in all 50 states?
Yes, there’s no state-level ban on rooftop cargo carriers, but general secure-load statutes and overall vehicle height restrictions still apply everywhere.
Can I leave the carrier mounted when it’s empty?
You can, but it still adds drag, fuel cost, and wind noise, plus creates an unnecessary theft target. Removing it when not in active use is the better habit.
Hard-shell or soft-sided — which should I choose?
Hard-shell suits frequent road-trippers who want weatherproofing and a lockable box. Soft-sided suits occasional use, tighter storage space, and a lower upfront cost.
What causes wind noise from a rooftop carrier?
Usually a gap between the carrier and roof, a loose strap end flapping in the airflow, or a boxy shape without a wind deflector. Tightening the seal and tucking loose straps solves most cases.
Will a rooftop carrier affect how my car handles in wind?
Yes — the added height and side surface area increase crosswind sensitivity, and the raised center of gravity is most noticeable during quick lane changes or highway merges.
Pack Smart, Torque Twice, Drive Confidently
A rooftop cargo carrier is one of the simplest ways to free up cabin space for a road trip — as long as the weight math, the mounting hardware, and your driving habits all account for the extra load riding above your roofline.
Shop Rooftop Cargo Carriers on Amazon🌟 Recommended for Comfort
Drive More Comfortably Every Day
From lumbar supports to seat cushions, the right accessories can transform long drives from painful to comfortable. Browse our top picks on Amazon.
📯 Shop Comfort AccessoriesAffiliate link — we earn a small commission that keeps DriveSafeGuide running. Thank you!