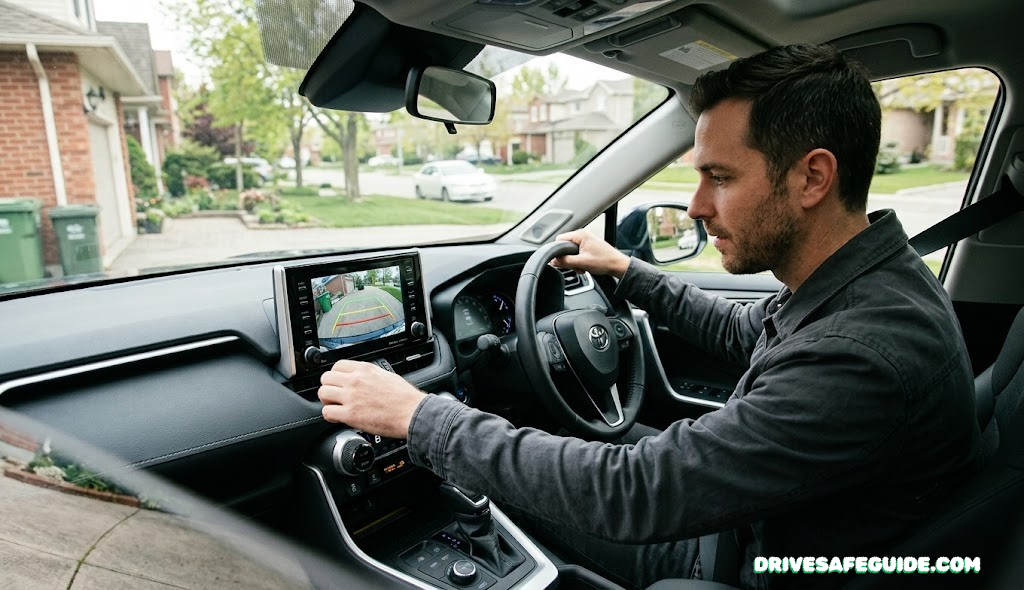
How to Choose a Backup Camera for Any Car
A no-nonsense, step-by-step guide to picking the right backup camera for your sedan, truck, SUV, or RV — without overpaying for specs you’ll never use.
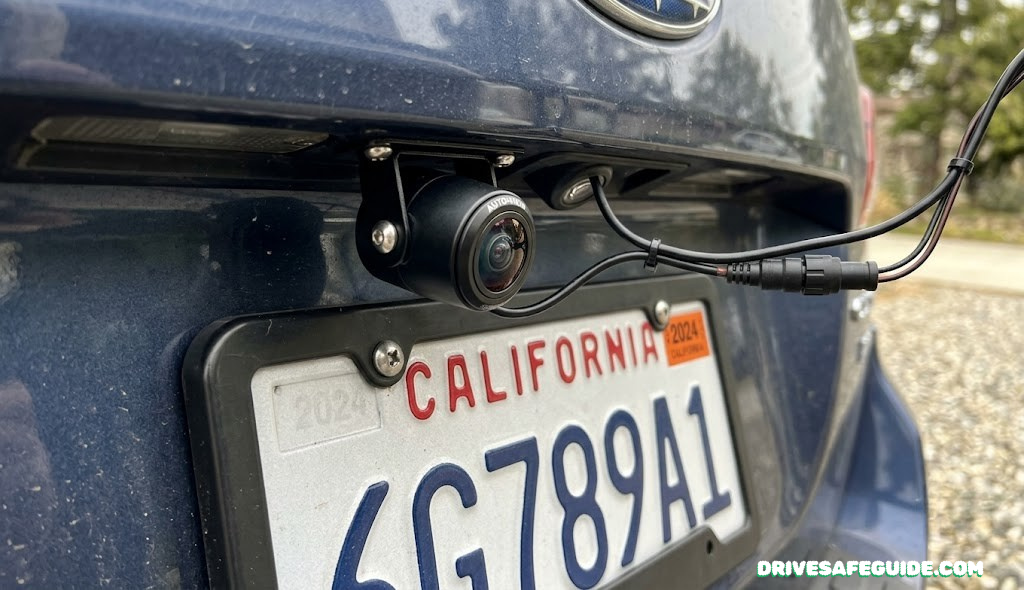
The blind zone behind your car is bigger than you think
Every car has a stretch of pavement directly behind it that the driver simply cannot see — not in the rearview mirror, not in either side mirror, not by craning your neck over the headrest. Engineers call it the blind zone, and it’s the reason backup cameras stopped being a luxury option and became standard safety equipment.
In a typical sedan, that blind zone runs somewhere around 12 feet behind the bumper. Step up to a pickup, full-size SUV, or anything towing a trailer, and it can stretch past 30 feet — long enough to completely hide a small child, a pet, a shopping cart, or a parked bicycle. Federal regulators eventually stepped in: as of May 2018, every new vehicle under 10,000 pounds sold in the United States has been required to include rear visibility technology that clears a 10-by-20-foot zone directly behind the bumper. The rule traces back to the Cameron Gulbransen Kids Transportation Safety Act, named for a two-year-old who was killed in a backover accident in his own driveway — one of roughly 210 fatalities and 15,000 injuries the rule was designed to prevent each year.
That mandate only covers new vehicles, though. If you’re driving anything built before mid-2018, towing a trailer that didn’t come with a factory camera, or simply unhappy with the grainy, narrow image your factory system gives you, the aftermarket world is where you’ll be shopping — and that market is enormous, confusing, and full of marketing language that doesn’t actually tell you what you need to know. A blind-spot monitoring system and a set of blind-spot mirrors both help with what’s beside you; a backup camera is the only tool built specifically for what’s directly behind you while you’re in reverse, which is exactly where the most dangerous, lowest-speed collisions happen.
This guide walks through the eight decisions that actually separate a backup camera that works for your vehicle from one that gets returned in three weeks. We’ll also flag where good defensive driving habits still matter even after you’ve installed one, because no camera replaces a slow, deliberate reverse.
Map your vehicle’s actual blind zone
Before you compare a single spec sheet, figure out how much “behind your car” you actually need to see. This single decision quietly determines almost everything else on this list.
A compact sedan and a crew-cab pickup hauling a travel trailer are not shopping for the same camera, even though Amazon will happily show them the exact same search results. The federal visibility standard only guarantees a 10-by-20-foot window directly behind the bumper — fine for a short hatchback, but nowhere near enough for a long-bed truck, a cargo van, or anything with a trailer hanging off the hitch. The longer and taller your vehicle, the farther back that dead zone extends, and the more it matters whether your camera’s lens angle and mounting position can actually see into the corners of it, not just straight down the centerline.
As a rule of thumb: sedans and small hatchbacks are well served by almost any license-plate camera with a 120–150° lens. Pickups, full-size SUVs, and cargo vans benefit from a wider lens and a mount placed as close to the centerline and as low as the license plate bracket allows. Anything towing — a horse trailer, a boat, a travel trailer — usually needs a second camera at the rear of the trailer itself, not just the tow vehicle, since the truck’s own camera will only ever show you the trailer’s nose. We cover trailer-specific wiring in the trailer hitch classes guide if that’s the situation you’re in.
Decide wired or wireless
This is the single biggest fork in the road, and it’s mostly a question of how much you mind running a cable through your trunk.
A wired backup camera sends video down a physical cable — usually a thin RCA-style cord — from the camera lens to your screen. There’s no signal to interpret, no pairing, no possibility of interference, which is exactly why fleet vehicles and commercial trucks almost always run wired. The tradeoff is installation time: routing that cable from the rear bumper to the dashboard, typically through a door seal, the headliner, or under interior trim, generally takes one to two hours even for someone comfortable with basic tools.
A wireless backup camera transmits the video signal over a 2.4 GHz radio link instead, which means no cable run at all — most kits install in under five minutes with nothing more than a screwdriver. Modern digital wireless systems have closed most of the old reliability gap; the cheap analog wireless cameras that used to drop signal near Wi-Fi routers or other 2.4 GHz devices have largely been replaced by frequency-hopping digital units that stay locked even in RF-dense parking garages. The exception is very long vehicles — a 35-foot RV or a truck-and-trailer combo can push a budget wireless signal to its limit, which is where purpose-built long-range systems earn their higher price tag.
Wired — Best For
- Permanent installs in a daily driver you won’t be swapping
- Fleet, work trucks, or anything where dropped signal isn’t acceptable
- Drivers comfortable spending an afternoon routing cable
Wireless — Best For
- RVs, trailers, and rentals you don’t want to drill into
- Fast DIY installs with zero cable-fishing
- Anyone who wants the camera to move between vehicles later
If you’ve already weighed this exact tradeoff for a different camera on your dash, the logic carries straight over — our wired vs. wireless dash cam comparison covers the same signal-reliability questions from the front-facing side of the car.
AUTO-VOX Solar 1 Wireless Backup Camera
License-plate mount, solar + USB top-off battery, 5″ monitor included — zero cable run, install in about 5 minutes.
View on Amazon →eRapta ERT11 License Plate Camera
720p wired camera with a 149° golden-angle lens and IP69K housing — the steady, no-lag option for a permanent install.
View on Amazon →Match the camera to your display
A camera is only half the system. Where the image actually shows up changes which product you should buy.
There are three realistic destinations for that video feed, and most buying mistakes happen when someone picks a camera before figuring out which one applies to them.
- Your existing infotainment screen. If your factory radio or aftermarket head unit already has an RCA or composite video input — common on cars built for the factory-camera era, and on most aftermarket double-DIN stereos — you only need to buy the camera itself, wired or wireless, and feed it into that input. No new screen to mount.
- A dedicated standalone monitor. If your vehicle has no compatible input at all, you’ll buy a camera-and-monitor kit that includes its own small screen, typically suction-mounted to the windshield or clipped to the dash. This is the most universal option and the one nearly every budget kit defaults to.
- A rearview mirror replacement. These clip or strap over your existing mirror and embed a small display in the glass itself, switching to the camera feed automatically when you shift into reverse. They look the cleanest and keep your dashboard clear, at the cost of a slightly smaller image than a dedicated monitor.
Worth knowing before you buy: signal type matters here too. Most aftermarket cameras output either composite/CVBS (the older, universal standard) or AHD (a sharper digital format). Mixing the two — an AHD camera into a CVBS-only screen, for instance — gets you a blank screen, not a blurry one. If you already use a phone-mounted wireless CarPlay adapter in your dash, double-check it has a dedicated camera input before assuming you can route a backup feed through it.
AUTO-VOX Rear View Mirror Camera
4.3″ OEM-style mirror display, wireless, light-sensing brightness, IP69 camera — straps over your existing mirror.
View on Amazon →eRapta A43 Camera + Monitor Kit
Wired license-plate camera bundled with a 4.3″ monitor — the complete, no-guesswork universal kit for cars with no spare video input.
View on Amazon →Resolution and night vision specs that actually matter
More megapixels always sounds better in a listing, but for a screen you’ll glance at for three seconds while reversing, the spec sheet matters less than you’d think — except in one specific situation.
720p is genuinely fine for most backup camera use. You’re identifying shapes — a curb, a bike, a toddler — at close range on a 4 to 5 inch screen, not reading license plates from fifty feet away. Where resolution actually starts to matter is on larger monitors (7 inches and up) and on systems that double as a recording dash cam, where a soft 720p image becomes noticeably mushy once you’re trying to make out detail rather than just shapes. If you’re cross-shopping a unit that also records front-facing footage, our 4K vs. 1080p dash cam comparison covers that resolution math in more depth than we need here.
Night vision is the spec that’s worth scrutinizing harder, because marketing language here is genuinely inconsistent. “Night vision” on a budget camera often just means a ring of LEDs bolted to the lens housing, which lights up the first few feet directly in front of the camera and washes out anything farther back into a white glare. Better systems use a more light-sensitive image sensor (sometimes advertised in lux — lower is better, with the best aftermarket units rated around 0.1 lux) that pulls a usable image out of ambient light — your own reverse lights, a streetlamp, a neighbor’s porch light — rather than relying on the camera’s own LEDs to do all the work.
If night driving and visibility are a recurring concern for you beyond just reversing, it’s worth a look at our broader night driving safety checklist, and if you’re cross-shopping camera systems generally, the same sensor-quality questions show up in our best night-vision dash cams roundup.
AMTIFO A18 Wireless Backup Camera
True 1080P digital wireless signal with a 4.3″ monitor and a 150° golden-angle lens — no professional install required, and one of the better resolution-for-price ratios in the budget tier.
View on Amazon →