The Definitive Pre-Road Trip Safety Checklist
As an Amazon Associate, we earn from qualifying purchases. This post contains affiliate links, which means we may receive a small commission, at no extra cost to you, if you make a purchase through a link. Your safety is our top priority.
The romance of the open road is a powerful call to adventure. But for every breathtaking vista and unforgettable memory, there’s a potential for a flat tire on a dark highway, a dead battery at a remote campsite, or worse. After countless miles crisscrossing the country, we’ve learned a critical lesson: true freedom on the road is born from meticulous preparation. A successful road trip isn’t about luck; it’s about systematically eliminating risks before you even turn the key.
This isn’t just another list. This is a comprehensive, multi-phase safety protocol forged from experience—from the near-misses and the full-blown roadside disasters that we now look back on as valuable, albeit stressful, lessons. We’ll guide you through what to check, why it matters, and how to do it right, transforming your pre-trip anxiety into confident preparedness.
What are the most critical pre-trip safety checks?
The most critical safety checks before any road trip fall into three categories. Mechanical Fitness: Inspecting tires, brakes, battery, and all fluid levels. Emergency Preparedness: Assembling a comprehensive roadside emergency kit and a well-stocked first-aid kit. Driver Readiness: Ensuring you are well-rested, your route is planned, and all necessary documents are accessible. Neglecting any of these areas significantly increases your risk on the road.
The At-A-Glance Safety Checklist
For those ready to get started, here is a high-level overview of the essential tasks. We’ll dive deep into each one of these points throughout the guide.
- Check Brakes for Wear & Tear
- Inspect Tire Pressure & Tread Depth
- Test Battery & Clean Terminals
- Top Off All Essential Fluids
- Test All Exterior & Interior Lights
- Replace Worn Windshield Wipers
- Assemble a Roadside Emergency Kit
- Stock a Comprehensive First-Aid Kit
- Organize Vehicle Documents
- Download Offline Maps & Plan Route
- Perform Final Walk-Around Inspection
- Load Vehicle Safely & Securely
- Ensure Driver is Well-Rested
Phase 1: The Long-Range Plan (2-4 Weeks Before Departure)
This phase is for the big stuff. These are the checks that might reveal an issue requiring a mechanic’s appointment or ordering parts online. Don’t leave these until the last minute.
1. Brakes: Your Ultimate Safety System
Let’s be blunt: nothing else on this list matters if you can’t stop. Your braking system is a complex assembly of parts that wear down over time. A long road trip, especially through mountainous terrain with steep descents, puts immense stress on your brakes. We once ignored a faint squeal before a trip through the Rockies and ended up with severely warped rotors after a long downhill stretch—a scary and expensive lesson in procrastination.
How to Perform a Basic Brake Check:
- Listen: Turn off the radio. Drive at a low speed and listen for high-pitched squealing (often the wear indicators), grinding, or scraping sounds when you apply the brakes. Grinding is a critical warning—it often means the brake pads are completely worn away.
- Feel: Does the car pull to one side when you brake? Does the brake pedal feel spongy, or does it vibrate or pulse under your foot? These are all signs of potential issues with brake fluid, rotors, or calipers.
- Look: Check your brake fluid level. If it’s low, it could indicate a leak or worn pads.
When to see a pro: If you notice any of the signs above, book an appointment with a trusted mechanic immediately. It’s the best money you can spend on your safety.
2. Tires: Your Only 4 Points of Contact with the Road
Each tire has a contact patch about the size of your hand. That tiny area is responsible for acceleration, braking, and steering. This is why tire maintenance is non-negotiable. Before you dive into the specifics, a great place to start is our overarching guide on how to prepare your car for a road trip, which covers tires in the context of the whole vehicle.
How to Conduct a Thorough Tire Inspection:
- Pressure: Incorrect tire pressure is a leading cause of blowouts. Don’t use the pressure listed on the tire’s sidewall; that’s the maximum pressure. Find the correct pressure for your vehicle on the sticker inside the driver’s doorjamb. Check the pressure when the tires are cold (before driving).
- Tread Depth: Proper tread depth is crucial for grip, especially in wet conditions. Use the “Penny Test.” Insert a penny into the tread with Lincoln’s head upside down. If you can see the top of his head, your tires are worn below the safe limit of 2/32″ and need immediate replacement.
- Wear & Damage: Look for uneven wear patterns, which could signal an alignment issue. Inspect the sidewalls for cracks, bulges, or cuts. Don’t forget to check your spare tire! Make sure it’s properly inflated and in good condition.

AstroAI Digital Tire Pressure Gauge
Our Experience: The built-in gauges on gas station air pumps are notoriously inaccurate. We’ve seen them be off by as much as 10 PSI. Owning a reliable digital gauge is the only way to be certain. We keep this AstroAI gauge in our glove box. It’s backlit for easy reading at night, simple to use, and gives consistent, accurate readings. Using it before every long trip gives us incredible peace of mind, knowing our tires are set perfectly for safety and fuel efficiency.
Check Price on Amazon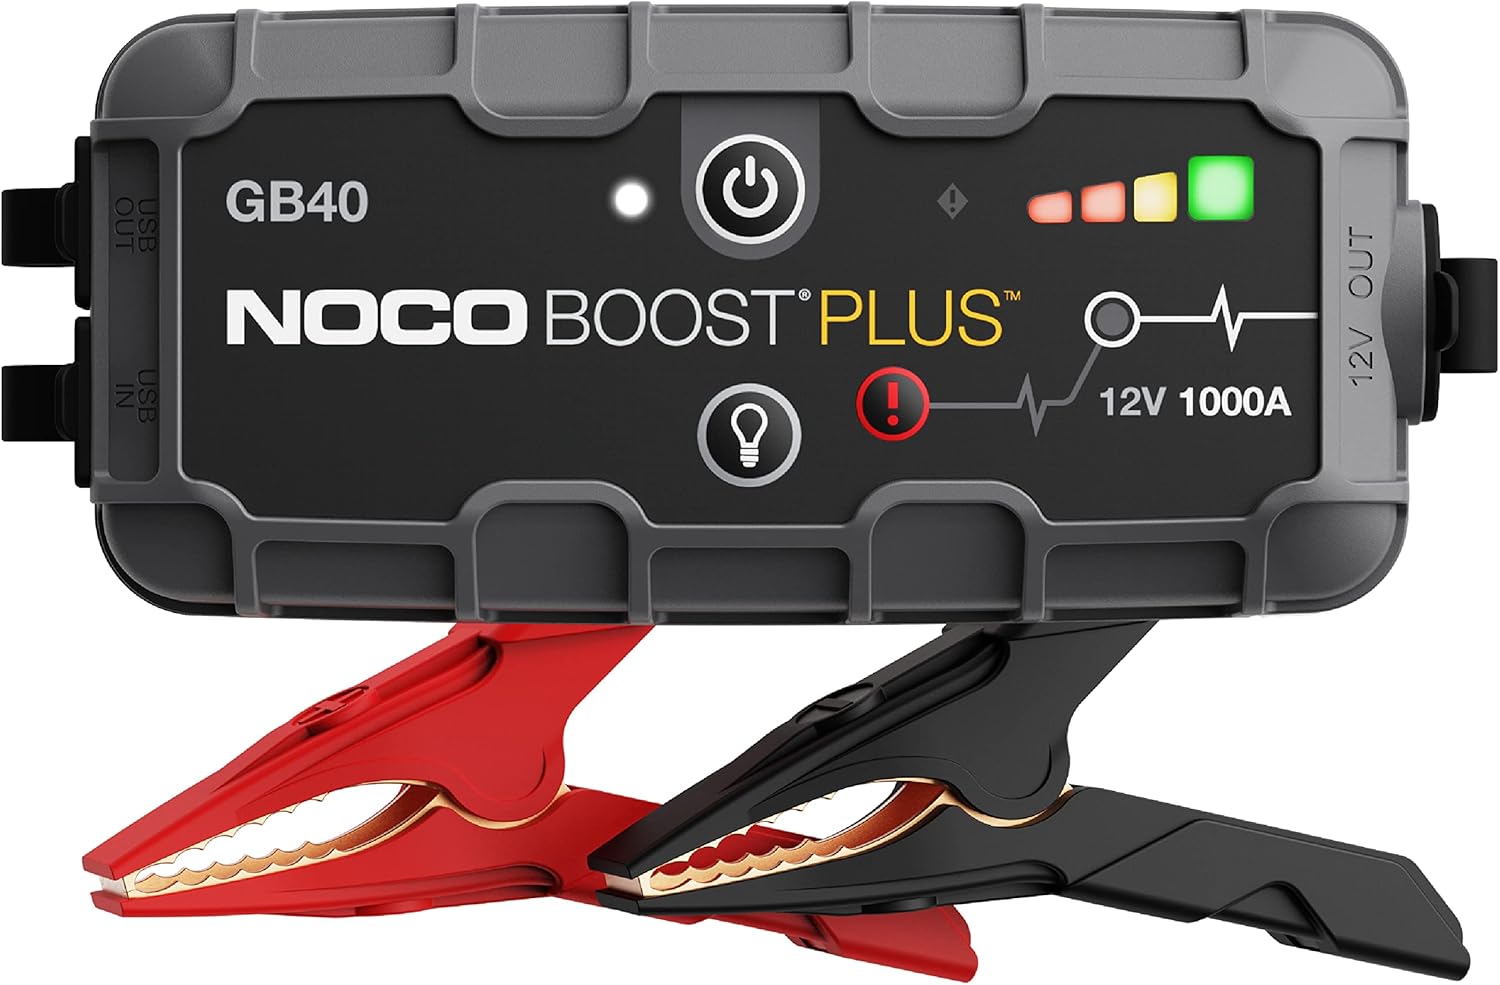
NOCO Boost Plus GB40 Jump Starter
Our Experience: A dead battery can happen anywhere, and waiting for a stranger to give you a jump can be time-consuming and sometimes unsafe. The NOCO Boost is our get-out-of-jail-free card. This compact lithium-ion jump starter packs enough power to start a car multiple times on a single charge, without needing another vehicle. It’s also a power bank for your phone. After being stranded by a dead battery at a trailhead miles from cell service, this device became a permanent fixture in our car. It’s a top-tier safety gadget.
Check Price on Amazon3. Battery & Electrical Systems
Your car’s battery works hardest during startup, but it’s the heart of your entire electrical system. Extreme temperatures—both hot and cold—can stress a battery and push a weak one over the edge. A road trip is the worst time to discover your battery is failing.
How to Check Your Battery’s Health:
- Visual Inspection: Look at the battery terminals. Is there a fuzzy, white, or blue-green corrosive buildup? This can impede the electrical connection. If you’re comfortable, disconnect the terminals (negative first!) and clean them with a wire brush and a baking soda/water solution.
- Check the Age: Most car batteries last 3-5 years. There’s usually a sticker on top indicating the month and year of manufacture. If yours is approaching the 5-year mark, it’s living on borrowed time.
- Get It Tested: The best way to know for sure is a professional test. Most major auto parts stores in the U.S. will test your battery, starter, and alternator for free. It takes 15 minutes and provides a definitive answer on your battery’s health.
“On a trip through Arizona, our car suddenly died at a gas station. The summer heat had killed our old battery. We lost half a day finding a replacement. Now, we get our battery tested before any summer road trip.”
Phase 2: The Final Week Countdown
With the major mechanical checks done, this week is about equipping your vehicle and yourself for the journey. It’s time to gather your gear, organize your documents, and finalize your plans.
4. Assemble Your Roadside Emergency Kit
This is more than just a first-aid kit. This is your toolkit for dealing with common automotive problems. While you can buy pre-made kits, the best ones are often those you supplement yourself. This kit should live in your trunk and be part of your list of best road trip essentials.
What a Truly Great Kit Contains:
- For Visibility & Safety: Reflective triangles or LED flares, a high-visibility safety vest. If you’re on the side of the road at night, being seen is your first line of defense.
- For Minor Repairs: A multi-tool, duct tape, zip ties, work gloves, and a basic socket set.
- For Illumination: A powerful, reliable LED flashlight or headlamp with extra batteries. A headlamp is fantastic because it leaves your hands free to work.
- For Getting Unstuck: A foldable shovel and traction mats can be lifesavers in snow or mud.

Lifeline AAA Premium Road Kit
Our Experience: This kit is one of the best starting points we’ve found. It’s endorsed by AAA and contains quality components, including heavy-duty jumper cables, a flashlight, and various tools, all in a well-organized bag. We use this as our base and then add a few personal items like a headlamp and a multi-tool. It covers the vast majority of common roadside issues and ensures you’re not starting from scratch.
Check Price on Amazon
Adventure Medical Kits Mountain Series
Our Experience: The tiny first-aid kit that comes in most emergency bundles is inadequate for anything beyond a small cut. We carry a dedicated, comprehensive first-aid kit like this one from AMK. It’s organized by injury type, making it easy to find what you need in a stressful situation. It includes supplies for wound care, blisters, sprains, and managing medications. This kit is designed for outdoor adventures, making it more than robust enough for any road trip incident.
Check Price on Amazon5. Documentation & Digital Preparedness
Don’t get caught in a tough situation without the right paperwork or information. A few minutes of prep here can save you a massive headache later.
Your Document Checklist:
- Physical Copies: Check that your driver’s license, vehicle registration, and proof of insurance are current and in your vehicle. It’s wise to have photocopies or photos on your phone as a backup, but you need the originals.
- Digital Lifelines: We live in a connected world, but you can’t rely on cell service everywhere. This is where safe driving apps for smartphones come in handy. Download offline maps for your entire route using Google Maps or a dedicated app. Save important phone numbers (roadside assistance, family, hotels) directly to your phone’s contacts.
- Share Your Itinerary: Send a copy of your planned route, including overnight stops and estimated timelines, to a trusted friend or family member. Agree on a check-in schedule. If something happens, they’ll know where you were supposed to be.
Phase 3: T-Minus 24 Hours (The Final Countdown)
The car is checked, the gear is assembled. This final phase is about loading up, conducting one last inspection, and preparing the most important component: the driver.
6. Loading the Vehicle for Safety and Balance
How you pack is a safety issue. An improperly loaded vehicle can affect handling, braking, and visibility.
The Rules of Safe Packing:
- Heavy Items Low and Centered: Place your heaviest items, like coolers and large suitcases, on the floor of the trunk, as close to the center of the vehicle as possible. This keeps the center of gravity low and improves stability.
- Don’t Block Your View: Never pack items so high that they obstruct your view out of the rear window. Relying only on your side mirrors is dangerous.
- Secure Loose Items: In a sudden stop or collision, loose items in the cabin become dangerous projectiles. Water bottles, books, and especially heavy tech items should be secured in seatback pockets, the glove box, or with a cargo net. This is where some must-have car gadgets for long drives like a good trunk organizer can be a safety feature.
7. The Final Walk-Around & Driver Readiness
Just before you leave, do one last check.
- The Walk-Around: Walk a full circle around your car. Are there any visible leaks underneath? Do the tires look okay? Is anything attached to the car that shouldn’t be? This 30-second check can catch last-minute issues.
- Driver Prep: The most advanced safety system in the car is an alert, well-rested driver. Get a full night’s sleep before a long driving day. Avoid heavy meals that can make you drowsy. Plan to take a break every 2-3 hours to stretch and refresh.
- Set Your Cockpit: Before you put the car in drive, adjust your seat, mirrors, and steering wheel. Set your navigation destination. Choose your playlist. Do everything you can to minimize distractions once you are moving.
Special Considerations for Your Trip Type
Not all road trips are the same. Tailor your final checklist to your destination and season.
For Winter / Snow Trips:
Driving in winter conditions requires an extra layer of preparation. In addition to all of the above, you must have an ice scraper/snow brush, a bag of sand or cat litter for traction, emergency thermal blankets, and extra warm clothing. Check the legality and need for snow chains in the areas you’ll be traveling through.
For Desert / Hot Climate Trips:
Extreme heat is just as dangerous as extreme cold. Pack extra water for both you and your car (a gallon of coolant in the trunk is a smart move). Use a reflective sunshade whenever you park to keep the interior temperature down and protect your dashboard. Be aware of the signs of your car overheating.

Lifeline Aluminum Sport Utility Shovel
Our Experience: A full-size shovel is impractical, but this compact, collapsible one is perfect. It’s lightweight yet surprisingly sturdy. We had to use it to dig our car out of a surprise snowdrift at a hotel in Colorado, and it was invaluable. For any trip that might involve snow, this small tool can be the difference between a minor inconvenience and being truly stranded.
Check Price on Amazon
EcoNour Car Windshield Sun Shade
Our Experience: Driving through places like Nevada or Arizona in the summer, the sun is relentless. A good sunshade makes a shocking difference. This one is simple, effective, and folds down into a small circle for storage. It keeps the steering wheel and seats from becoming scorching hot and protects the car’s interior from UV damage. It’s a must-have for any warm-weather travel.
Check Price on AmazonConclusion: Preparedness is Your Passport to Adventure
This checklist may seem exhaustive, but each item represents a layer of protection between you and a ruined vacation. By taking the time to thoroughly prepare your vehicle and your gear, you aren’t succumbing to fear; you are empowering yourself. You’re building a foundation of confidence that allows you to relax, be present, and fully immerse yourself in the joy of the journey.
The road is unpredictable, and that’s part of its allure. But with this safety checklist completed, you can face that unpredictability with the assurance that you’ve done everything in your power to be ready for whatever comes your way. Now, go have an adventure.